Create an event
This user guide will help you become familiar with how to author events on the new platform.
Goals
- Improve the advertising of events with a great looking post.
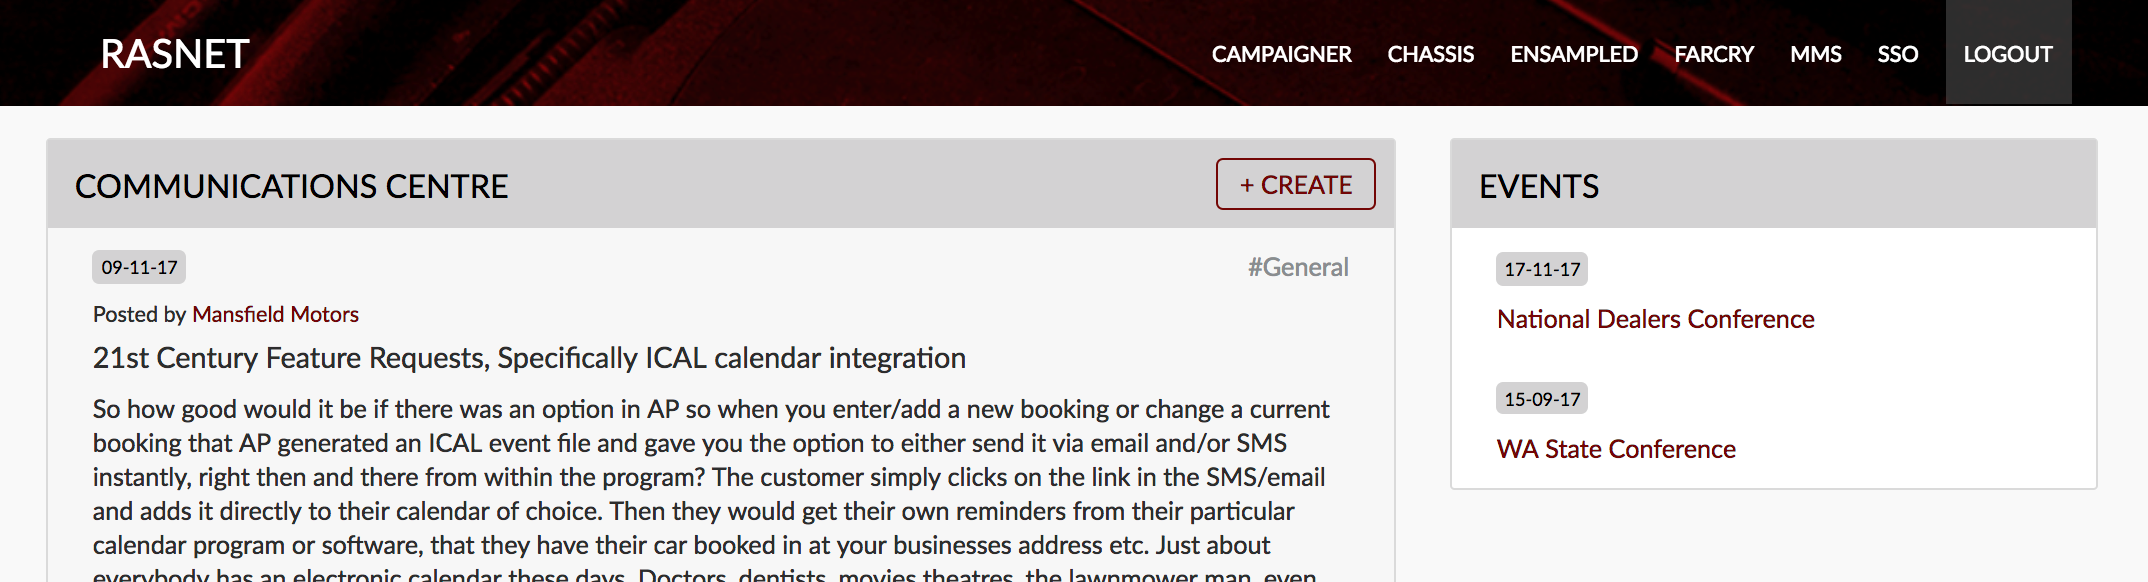
- Raise awareness around RAS events by publishing them on the dashboard, with the aim to boost attendance.
Getting started
- Prepare your event. You will need a title, description, details and dates, an image is optional, but recommended.
- Sign-in to RASNet.
- Navigate to events.
Create an event
- Add a title, this will be visible on the dashboard event posting.
- Add the event start date, this is required
- Add the event end, this is not required but will be necessary for any event that spans more than one day.
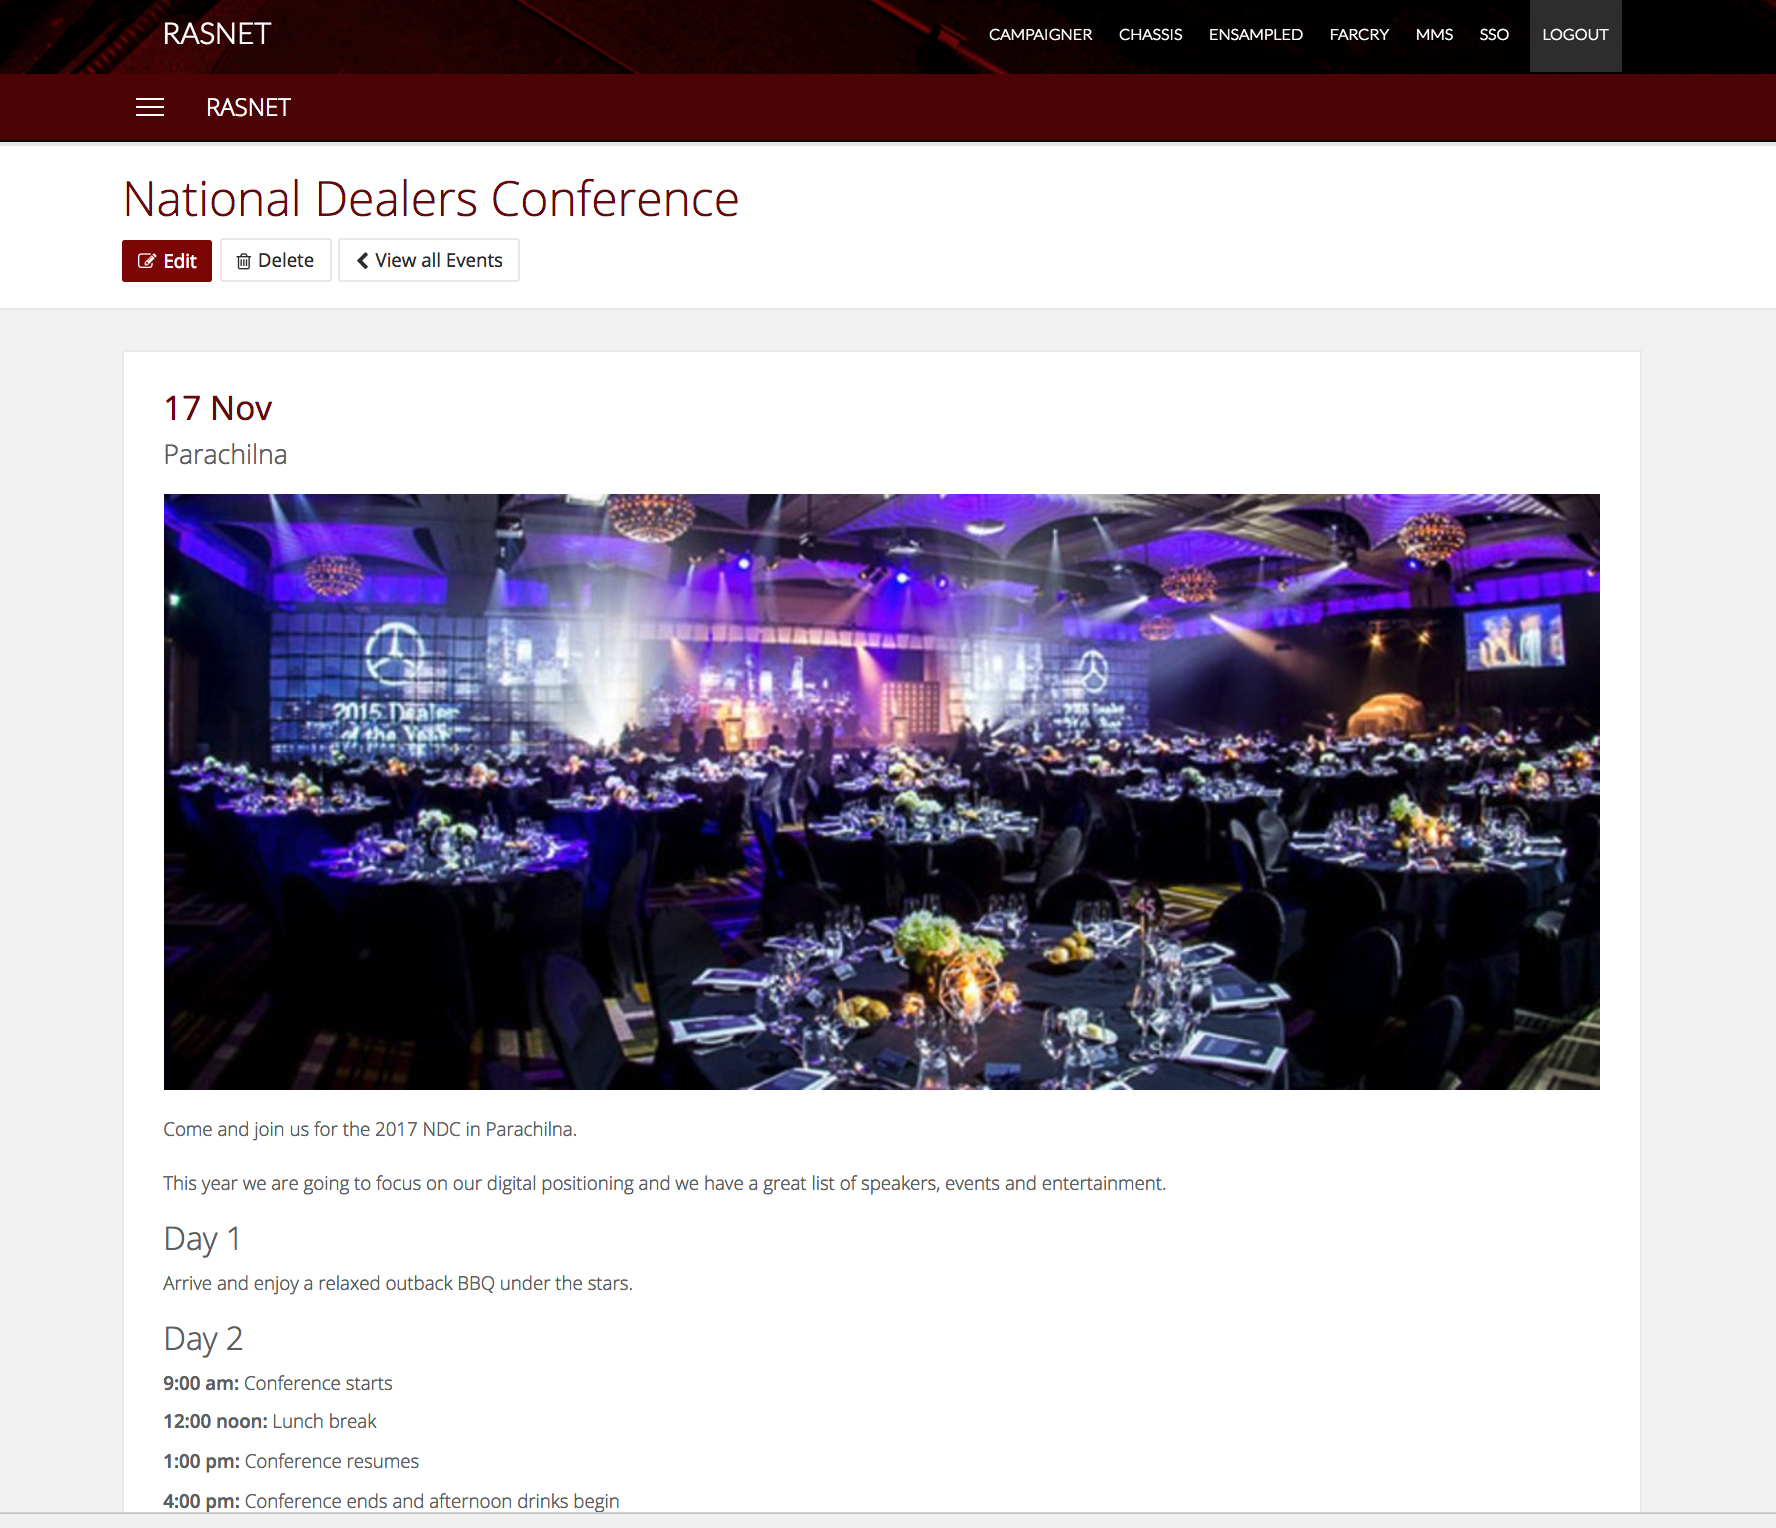
- Add a description, this is required and will be the first sentence on the event page (and possibly on the dashboard in a future version).
- Add a location.
- Upload an image, if you would like.
- Add the details of the event. Use the formatting controls to make it look great.
- Select whether the event is national or not, this will add a national tag to the post.
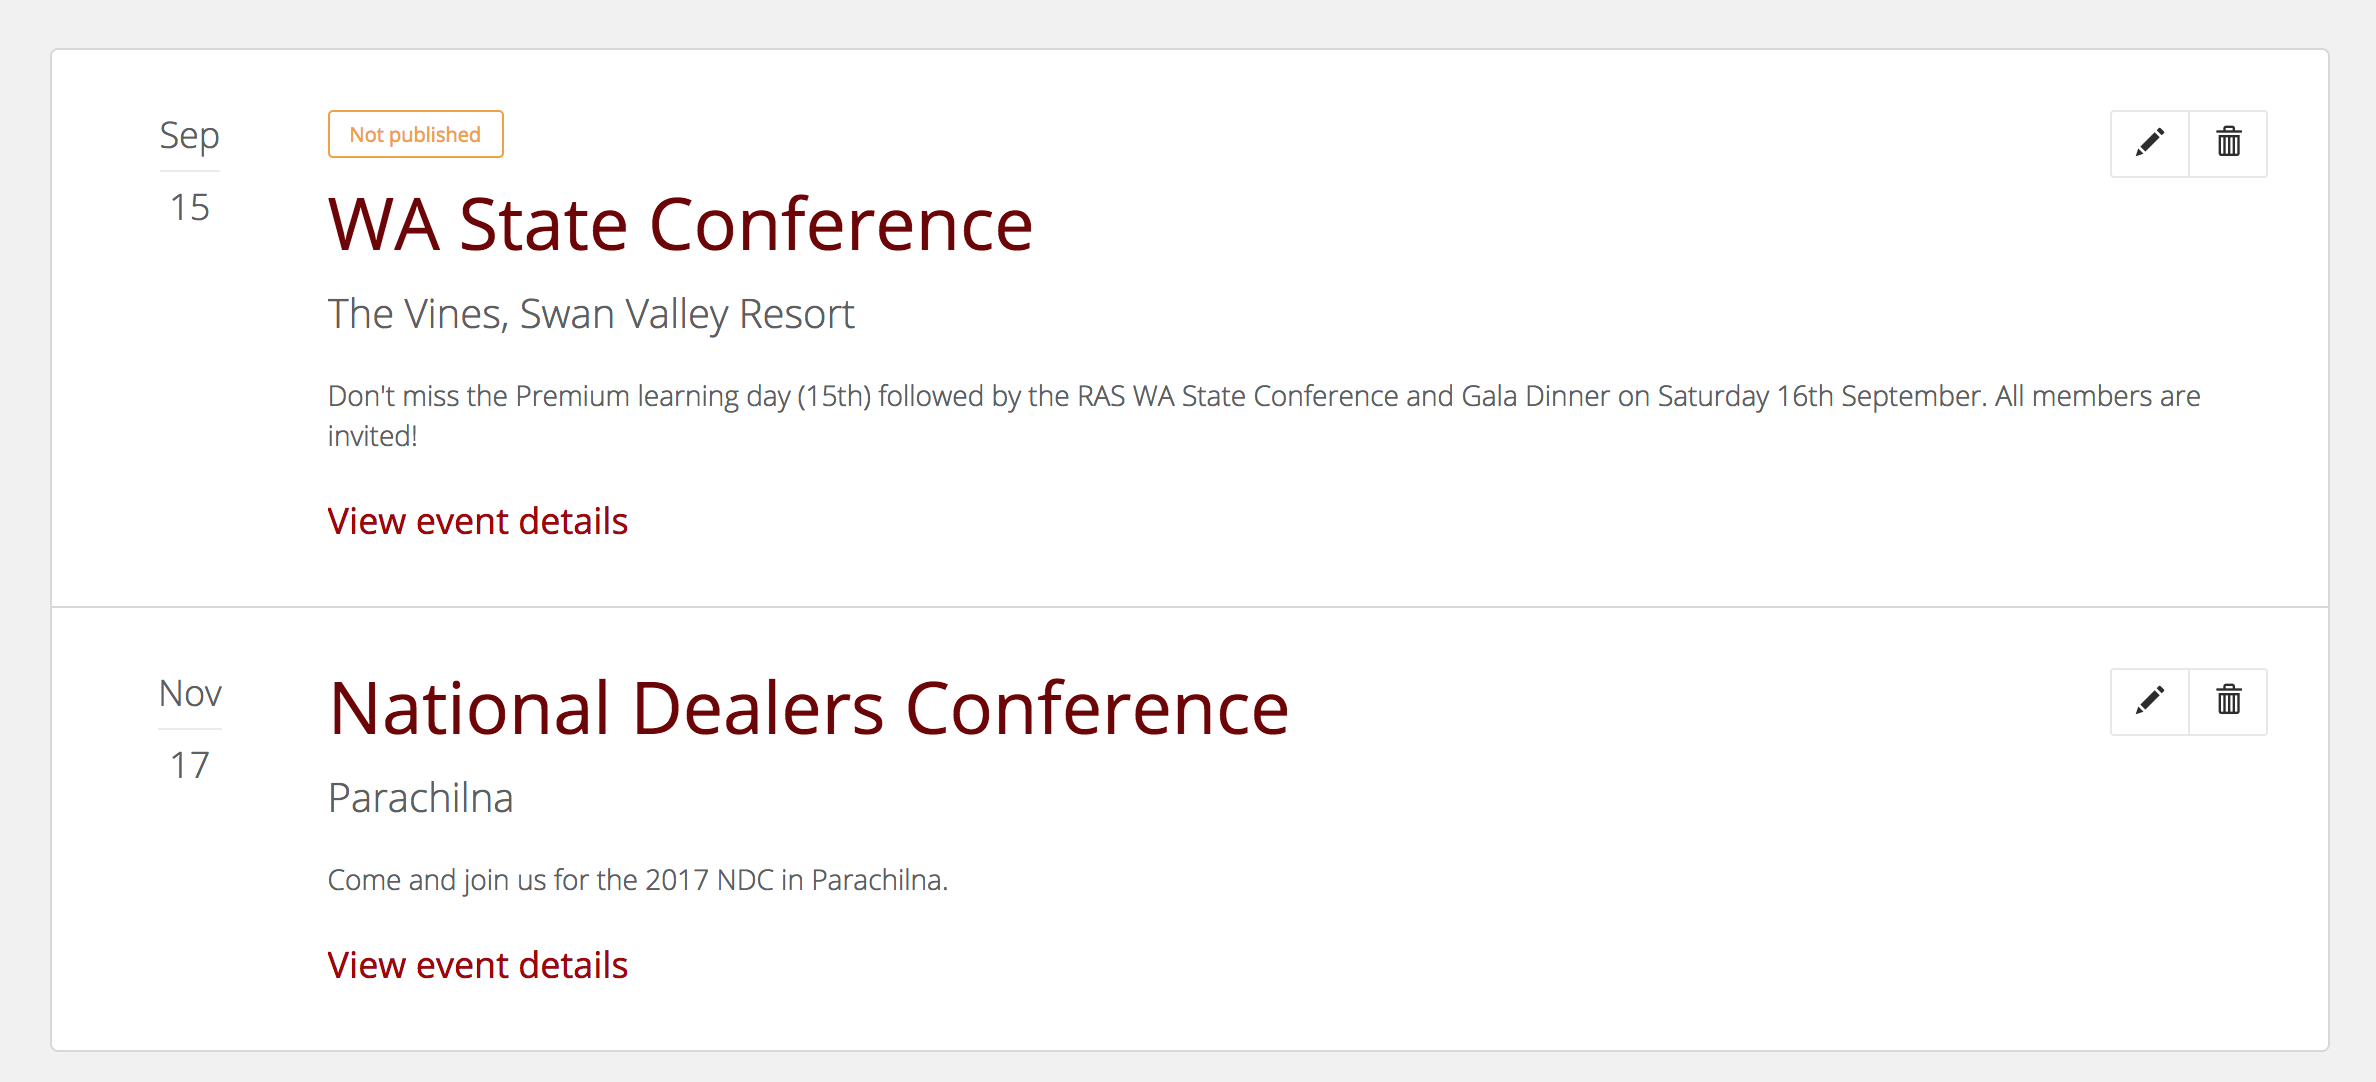
- Set the post to publish if you are ready for it to go live. If you're not you can save it and come back to it later. Members won't see events that aren't published.
- Set the publish on and remove after dates, to control the period it is visible to members.
- Preview the event on the dashboard to ensure it looks correct.
- Preview the event using the view event details link on the index page.
Best practices and tips
- Keep your event title short but catchy.
- Format the event content using the editor to make it look great. Add headings, format lists and add links where possible.
- Add an image where you can to add interest.
- Try to use images within the suggested sizing, 1400px wide and 760px high. The image will be automatically resized on the fly to suit the device accessing the content.